
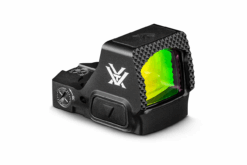

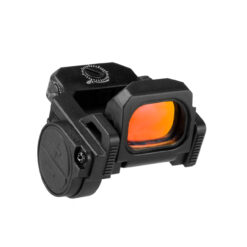


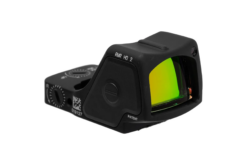


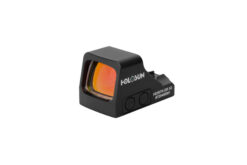
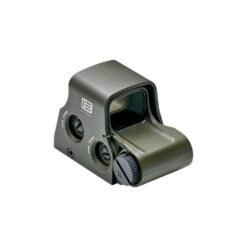

What Are AR-15 Red Dot & Holographic Sights?
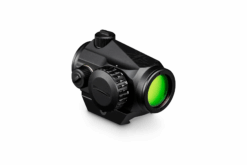
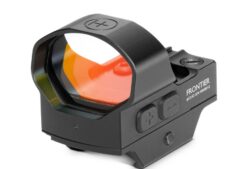
AR-15 red dot and holographic sights are non-magnified optics built to help shooters aim faster and more naturally. They are especially common on rifles used for close-range shooting, training, home defense, and general-purpose setups because they allow shooters to stay more target-focused while keeping both eyes open. The live category page centers this section around AR-15 red dot sights, and related Black Rifle Depot content also explains that red dots and holographic sights are widely used for close-range performance because they offer true 1x aiming and fast visual pickup.
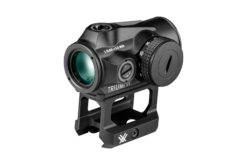
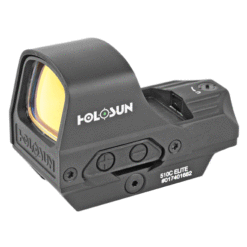
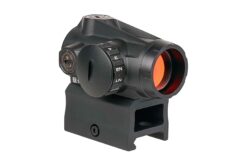
This kind of category is useful for more than one type of shooter. Some shoppers may want a lightweight red dot for a simple range build, while others may be comparing optic styles for defensive use, low-light performance, or compatibility with magnifiers and night vision. Related Black Rifle Depot content explains that red dots are generally lightweight, durable, and easy to zero, while holographic sights are often valued for performance in harsh lighting and strong compatibility with night vision setups.
Why Shop AR-15 Red Dot & Holographic Sights?
One of the biggest benefits of shopping in a dedicated AR-15 red dot and holographic sights category is convenience. Instead of sorting through every type of optic, shoppers can focus on the optics most associated with speed, target transitions, and practical 1x use. The live category page specifically frames these optics around improving shooting speed and performance, which is exactly why so many AR-15 owners start here when upgrading from iron sights.
This category is also useful because it brings together optics that serve different roles while still serving a similar purpose. Some shooters want a lightweight and affordable red dot that is easy to mount and use. Others may prefer a holographic sight for demanding conditions or a setup that pairs well with a magnifier. Related Black Rifle Depot content supports those differences, noting that red dots are often favored for simplicity and long battery life, while holographic sights appeal to shooters who want strong performance in challenging lighting conditions.
Choosing the Right AR-15 Red Dot & Holographic Sights
When choosing an AR-15 red dot or holographic sight, start with how the rifle will be used. A lightweight red dot may be the right fit for a simple range rifle, a minimalist build, or a general-purpose AR where speed and ease of use matter most. A more feature-rich optic may make more sense for defensive use, frequent training, or a rifle used in varying light conditions. Related Black Rifle Depot articles reinforce that these optics are often chosen for speed, low-light usefulness, and practical real-world handling.
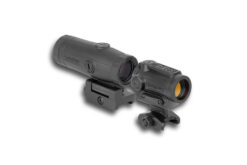
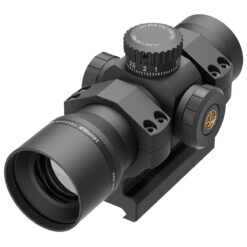
It also helps to consider the rest of the optical setup. Some shooters may eventually want a riser or magnifier, while others may prefer to keep the rifle as simple and lightweight as possible. The broader optics section on the site includes red dot risers and related optic accessories, which shows that this category can be part of a larger sighting setup depending on the builder’s goals.
Shop AR-15 Red Dot & Holographic Sights with Confidence
Whether you are looking for a fast 1x optic for a new build, replacing older iron sights, or comparing red dot and holographic options for a more refined setup, the right optic can make your rifle feel faster and easier to run. At Black Rifle Depot, this category offers shoppers a focused place to browse AR-15 red-dot and holographic sights designed for speed, precision, and practical performance. If you want an optic that helps improve target acquisition and supports a wide range of shooting styles, Black Rifle Depot is a strong place to start.
Frequently Asked Questions
If you still have questions about choosing the right AR-15 red dot or holographic sight, you’re not alone. Below are answers to some of the most common questions about what these optics do and what to look for when shopping.
-
What are AR-15 red dot and holographic sights?
They are non-magnified optics designed to provide a bright aiming point for faster target acquisition and easier aiming on AR-15 rifles. The live category page specifically describes them as useful for improving precision and speed.
-
Are red dots and holographic sights good for close-range shooting?
Yes. Related Black Rifle Depot content explains that red dots and holographic sights are among the most widely used AR-15 optics for close-range performance because they provide true 1x aiming and allow both-eyes-open shooting.
-
What is the difference between a red dot and a holographic sight?
Both are designed for fast aiming, but related Black Rifle Depot content notes that red dots are typically lighter, simpler, and known for long battery life, while holographic sights are often chosen for better performance in harsh lighting and stronger compatibility with night vision.
-
Are AR-15 red dots good for beginners?
Yes. Related site content says red dots are often considered one of the best optic types for beginners because they are easy to zero, lightweight, and straightforward to use.
-
Can I add a riser or magnifier to a red dot setup?
In many cases, yes. The site includes a separate red dot and optic riser category, and related content also discusses pairing red dots with magnifiers for added versatility.