


What Are AR-15 Upper Parts?
AR-15 upper parts include all the components that make up the upper receiver assembly of an AR-15 rifle. These parts work together to support the barrel, manage the gas system, chamber rounds, extract spent casings, and cycle the action reliably. Properly matched upper components are essential for smooth operation and consistent accuracy.
This category covers both individual components and complete AR-15 upper parts kits, allowing builders to choose the level of customization or convenience that best fits their project. Whether you’re assembling a duty rifle, competition build, hunting setup, or range firearm, having the correct upper parts is non-negotiable.
Step by Step Guide: Assembling Your Custom AR Upper
Are you ready to take your AR-15 build to the next level? Assembling your custom [...]

Why to Buy a Pre-Assembled AR 15 Complete Upper
For new builders, the number of choices available when it comes to designing an AR 15 [...]
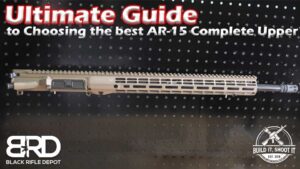
Ultimate Guide to Choosing the best AR-15 Complete Upper
Ultimate Guide to Choosing the best AR-15 Complete Upper The AR-15 platform is renowned for its [...]
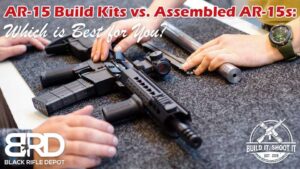
AR-15 Build Kits vs. Assembled AR-15s: Which is Best for You?
The AR-15 has cemented itself as one of the most popular rifles among firearms enthusiasts, [...]
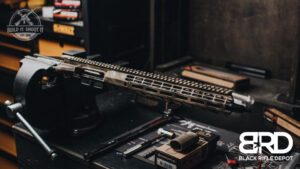
AR-15 Complete Uppers Comprehensive Guide
An AR-15 complete upper is the core of your rifle’s performance. From accuracy and recoil [...]
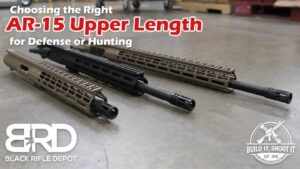
Choosing the Right AR-15 Upper Length for Defense or Hunting
Choosing the right AR-15 upper length is critical when building or upgrading your rifle. Whether you [...]
AR-15 Upper Parts Names and Common Components
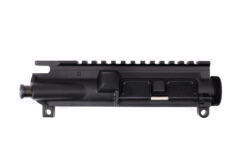
Understanding the names of AR-15 upper parts is especially important for first-time builders or those replacing specific components. Common upper receiver parts include:
-
Upper receiver body
-
Forward assist assembly
-
Ejection port cover kit
-
Upper receiver pins and hardware
-
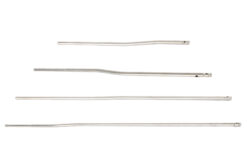
Gas system interface components
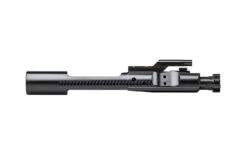
These parts collectively form the functional housing for the barrel, bolt carrier group, and charging handle. Our inventory aligns with a standard AR-15 upper parts list, helping builders confirm they have all the required components before beginning assembly.
AR-15 Upper Receiver Parts and Compatibility
Selecting the right AR-15 upper receiver parts ensures proper alignment, reliable cycling, and long-term durability. While most AR-15 uppers follow mil-spec standards, variations in coatings, tolerances, and materials can affect performance and fitment.
This category includes components compatible with forged and billet upper receivers, modern free-float handguard systems, and common barrel profiles. Whether you’re building a new AR-15 or replacing damaged components, our AR-15 upper parts are designed to be fully compatible with standard AR-15 platforms.
For builders seeking trusted, precision-machined components, options such as the Aero Precision AR-15 upper parts kit offer a reliable solution backed by tight tolerances and proven manufacturing standards.
AR-15 Upper Parts Kits vs. Individual Components
An AR-15 upper parts kit is often the most efficient way to source all required upper receiver components at once. Kits help eliminate guesswork, ensuring no essential parts are missing during assembly. They’re ideal for first-time builders, high-volume assemblers, or anyone looking to streamline the build process.
For experienced builders or custom projects, purchasing individual AR-15 parts and upper receiver components allows greater control over materials, finishes, and brand selection. This category supports both approaches, giving you flexibility without sacrificing quality.
Built for Performance, Backed by Fast Shipping
This AR-15 upper parts category is designed to compete with leading manufacturers and specialty brands by offering dependable components, clear compatibility, and fast shipping. Every part is selected to support reliable builds that perform under real-world conditions.
Whether you’re assembling a new upper, upgrading existing components, or keeping spare parts on hand, you’ll find everything needed right here. Browse our full selection of AR-15 upper parts for sale and build with confidence using components designed to meet modern AR standards—delivered quickly and ready for your next project.