


Whether you are upgrading a stripped lower, replacing worn components, or changing the setup of an existing rifle, the right AR-15 stock and buffer kit can make a noticeable difference. Black Rifle Depot’s AR-15 Stocks and Buffer Kits category currently includes adjustable stocks, fixed stocks, receiver extensions, springs, heavy buffers, end plates, and complete stock-and-buffer kits.
What Do AR-15 Stocks and Buffer Kits Do?
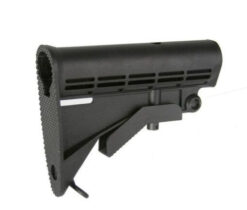
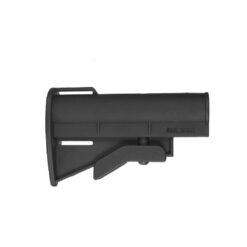
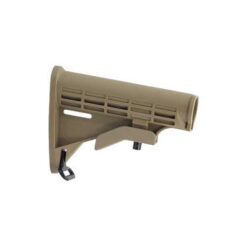
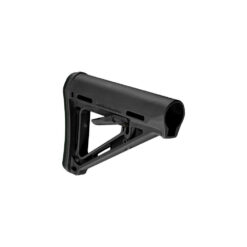
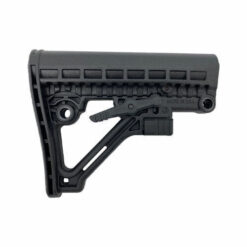
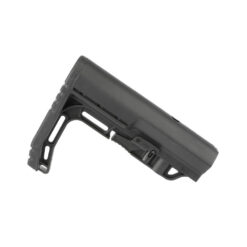
The stock gives the shooter a stable point of contact and affects length of pull, cheek weld, and overall rifle control. Some shooters prefer the flexibility of collapsible stocks for adjustable fit, while others like the simplicity and rigidity of fixed options such as A2-style setups. On the Black Rifle Depot category page, the current assortment includes both standard adjustable-style options and fixed-stock kits, giving builders more than one way to tailor the rifle to their needs.
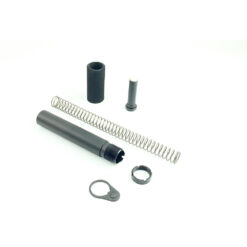
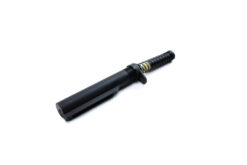
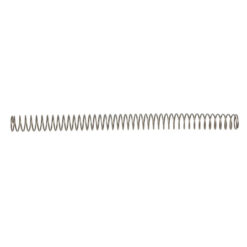
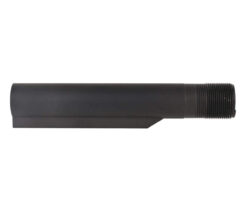
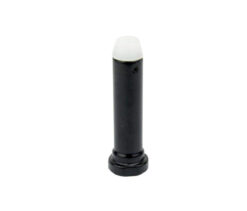
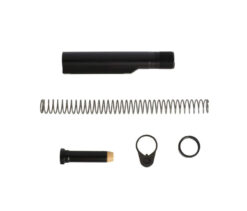
The buffer kit handles the rearward operating components of the AR-15 lower. A typical setup may include the buffer tube, buffer spring, buffer, end plate, and castle nut or other related parts depending on the kit. Black Rifle Depot currently lists individual components like carbine buffer springs, heavy buffers, receiver extensions, end plates, and complete carbine or A2 stock-and-buffer kits in this category, making it useful for both full builds and replacement-part purchases.
Fixed vs. Adjustable AR-15 Stock Options
Adjustable AR-15 stocks are popular because they let shooters fine-tune fit based on body size, gear, clothing layers, or shooting position. They are a practical choice for general-purpose rifles, range builds, and many defensive-style setups. Fixed stocks, on the other hand, offer a more traditional feel and consistent length of pull. A2-style stock kits remain a solid option for shooters who want a classic rifle setup with simple, proven function. Black Rifle Depot’s current category content specifically highlights both standard M4-style stocks and retro or A2-style stock options.
Choosing the Right AR-15 Stock and Buffer Setup
When selecting an AR-15 stock and buffer kit, think first about the role of the rifle. A lightweight general-purpose build may do well with a standard collapsible stock and carbine buffer setup. A more traditional rifle build may call for an A2 stock and matching rifle-length components. Some shooters may also prefer heavier buffers to fine-tune cycling characteristics depending on the rifle configuration. Black Rifle Depot currently offers standard carbine kits, A2 stock kits, heavy buffers, and individual receiver extension parts, giving builders the flexibility to assemble a setup that matches their goals.
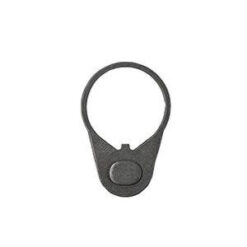
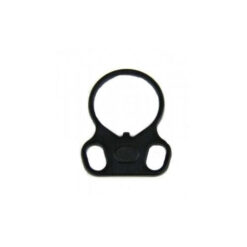
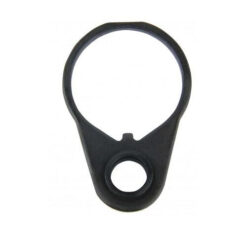
Fit and comfort matter too. Length of pull, stock shape, sling attachment options, and overall weight all affect how the rifle handles. Choosing the right combination can help improve control, comfort, and confidence behind the gun.
Shop AR-15 Stocks and Buffer Kits with Confidence
Whether you need a basic replacement part, a complete stock-and-buffer kit, or an upgraded setup for a new build, the right components help your AR-15 feel more balanced, comfortable, and dependable. At Black Rifle Depot, you can shop AR-15 stocks and buffer kits ranging from basic receiver extension parts to complete carbine and A2 stock kits, along with springs, buffers, and accessories from trusted brands. If you are building out a lower or refining your rifle’s fit and function, Black Rifle Depot is a great place to shop for AR-15 stocks and buffer kits that help bring the whole setup together.
Frequently Asked Questions
If you still have questions about choosing the right AR-15 stock and buffer kit, you’re not alone. Below are answers to some of the most common questions about fitment, function, and what to look for when shopping for the right setup for your build.
-
What is included in an AR-15 buffer kit?
An AR-15 buffer kit often includes the buffer tube or receiver extension, buffer spring, buffer, and related mounting hardware. Black Rifle Depot’s category also shows individual parts like end plates, springs, and heavy buffers, along with complete kits.
-
What is the difference between a fixed stock and an adjustable stock?
A fixed stock has a set length, while an adjustable stock can be collapsed or extended to better fit the shooter. Black Rifle Depot’s category currently includes both M4-style adjustable options and A2-style fixed-stock kits.
-
Are heavier buffers worth it?
They can be, depending on the rifle setup and what you are trying to achieve with cycling and recoil feel. Black Rifle Depot currently carries a 4.9 oz heavy buffer in this category.
-
Can I buy AR-15 stock parts separately?
Yes. This category currently includes complete kits as well as individual parts like receiver extensions, springs, end plates, and stocks.
-
Are AR-15 stocks and buffer kits important for reliability?
Yes. The stock affects fit and handling, while the buffer system supports the rifle’s cycling function. Choosing quality parts helps support a more dependable and comfortable build.