
AR-15 Optics
25-Yard vs. 50-Yard Zero: How to Zero an AR-15 Red Dot
Jul
Table of Contents
Choosing the right zero can make an AR-15 red dot easier to use across the distances you actually shoot. A 25-yard zero offers convenience at shorter ranges, while a 50-yard zero often produces a more balanced trajectory for a general-purpose rifle. However, neither option behaves exactly the same on every firearm.
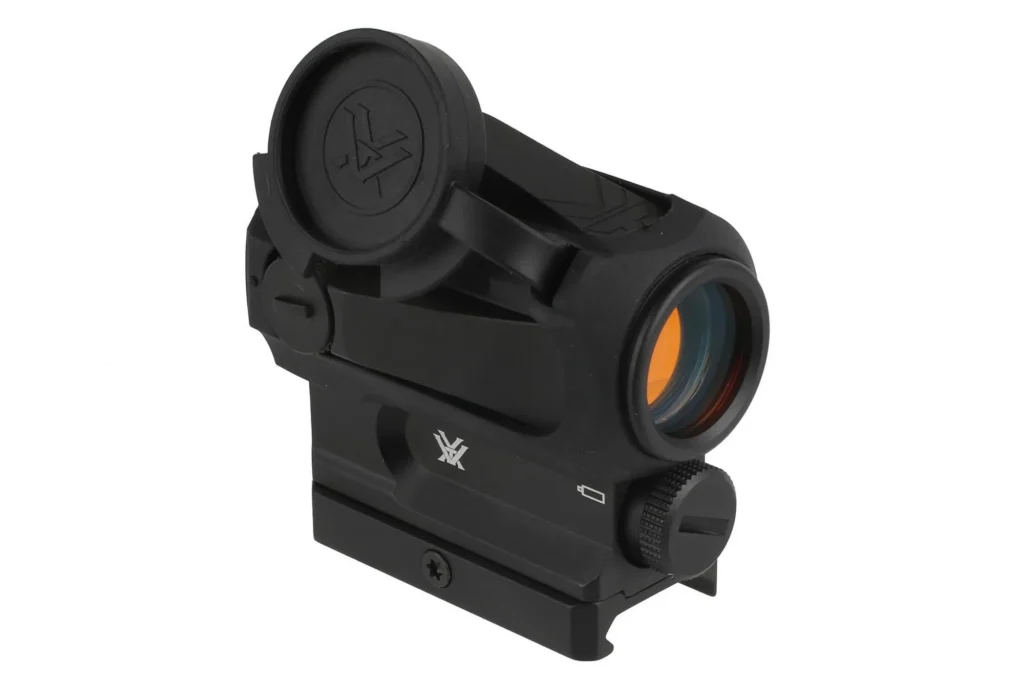
Barrel length, ammunition, muzzle velocity, optic height, and mount selection all affect where the bullet lands in relation to the dot. Whether you use a standalone red dot for AR-15 rifles, an AR-15 scope red dot combo, or a magnified optic with an offset sight, the zero must match your rifle and intended use.
This updated 2026 guide explains how each zero behaves, how to choose the right distance, and how to confirm an AR-15 red dot with live fire.
What Does It Mean to Zero an AR-15 Red Dot?
Zeroing aligns the AR-15 red dot point of aim with the bullet’s point of impact at a selected distance. When the optic is zeroed at 50 yards, the center of the group should meet the aiming point at that distance. The same principle applies when zeroing at 25 yards.
The bullet does not travel in a perfectly straight line. An AR-15 red dot sight sits above the bore, which means the barrel starts below the optic’s line of sight. As the bullet moves forward, its path rises relative to that line, crosses it near the chosen zero, travels above it for a distance, and eventually drops back through it.
This creates a near intersection and, depending on the rifle and ammunition, a second intersection farther downrange. The exact distances vary, so terms such as “50/200 zero” should be viewed as general descriptions rather than guaranteed ballistic results.
25-Yard Zero vs. 50-Yard Zero Comparison Chart
| Category | 25-Yard Zero | 50-Yard Zero |
|---|---|---|
| Best suited for | Short-range practice and ranges limited to 25 yards | General-purpose shooting at short and intermediate distances |
| Initial convenience | Easy to establish at most indoor and compact ranges | Requires access to an actual 50-yard target |
| Trajectory behavior | May create more bullet rise at intermediate distances | Usually keeps the bullet closer to the line of sight across common carbine distances |
| Close-range offset | Still requires an elevated hold | Still requires an elevated hold |
| Longer-range confirmation | Essential because the trajectory may differ significantly beyond 25 yards | Required to verify the actual farther intersection |
| Main advantage | Convenient and accessible | More balanced trajectory for versatile use |
| Main limitation | Can produce a more intermediate rise than expected | Harder to establish when the range distance is limited |
| Good choice for | Short-range rifles and preliminary zeroing | Training carbines and general-purpose rifles |
How a 25-Yard AR-15 Red Dot Zero Behaves
A true 25-yard zero places the bullet’s point of impact directly under the center of the AR-15 red dot at 25 yards. Because the sight sits above the bore, the bullet is still moving upward relative to the line of sight when it reaches that first intersection.
The bullet may continue above the line of sight at intermediate distances before dropping farther downrange. The amount of rise depends on the height of the red dot sight for AR-15 use, the barrel length, ammunition, and muzzle velocity.
A 25-yard zero can work well for shooters who have access only to a short indoor range or who primarily use their rifle at close range. It may also be used as a preliminary setting before confirming the rifle at 50 yards.
However, a true 25-yard zero is not the same as using a 25-yard target designed to simulate a 50-yard zero. A simulated target may require the group to land below the aiming point. Always follow the target instructions instead of assuming the impacts should touch the dot.
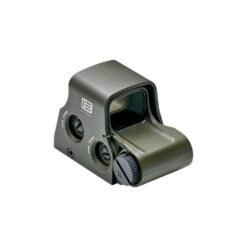

How a 50-Yard AR-15 Red Dot Zero Behaves
A 50-yard AR-15 red dot zero is a popular choice because it offers a practical balance between close-range mechanical offset and intermediate-distance trajectory. With many common 5.56 NATO and .223 Remington setups, the bullet crosses the line of sight near 50 yards and may cross it again at a farther distance.
The farther intersection is often described as approximately 200 yards, but the actual result may differ. A shorter barrel, a taller mount, a heavier bullet, or reduced muzzle velocity can change the trajectory.
For a shooter running an AR-15 with a red dot, the 50-yard zero often reduces the amount of vertical correction needed across common range distances. It remains important to understand that impacts will still land below the dot at very close range.
Do not assume a 50-yard zero automatically creates a perfect 200-yard zero. Confirm the rifle with the actual optic, mount, barrel, and ammunition you plan to use.
How an AR-15 Scope Red Dot Combo Changes Your Setup
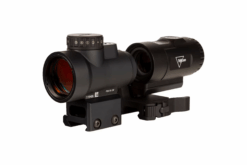
An AR-15 scope red dot combo gives the shooter access to both magnification and a fast, unmagnified aiming point. Common arrangements include a low-power variable optic with an offset red dot, a scope with a top-mounted red dot, or a red dot paired with a flip-to-side magnifier.
Each configuration should be zeroed according to its role. The primary scope may be zeroed at 100 yards, while the secondary AR-15 red dot may use a 25- or 50-yard zero. A magnifier does not normally require a separate zero because it sits behind the red dot and enlarges the existing sight picture.
Offset and top-mounted red dots may sit higher or farther from the bore than a standard receiver-mounted optic. This can increase mechanical offset and change the practical trajectory. Shooters using an AR-15 scope red dot combo should measure or verify the optic height before relying on generic trajectory charts.
Understanding Mechanical Offset at Close Range
Mechanical offset is the vertical distance between the center of the bore and the center of the optic. On most AR-15 setups, the AR-15 red dot sits several inches above the bore.
At very close distances, the bullet has not yet risen enough to meet the optic’s line of sight. As a result, impacts the land below the dot. This happens with both 25-yard and 50-yard zeros.
A taller mount creates more separation between the optic and the bore. While tall mounts may offer a more upright head position, they can increase close-range offset. This is especially important for shooters using a top-mounted red dot scope for AR-15 rifles or an elevated night-vision-compatible mount.
Modern optic mounts are available in a wide range of heights, so the best approach is to determine the offset for your exact setup rather than relying on a single universal number.
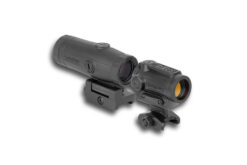

Which Zero Is Better in 2026?
For most shooters who want a versatile setup, a confirmed 50-yard zero remains a strong choice in 2026. It performs well for range training, recreational shooting, and rifles used across several distances.
A 25-yard zero remains practical when range access is limited or when the rifle will primarily be used at shorter distances. The right choice also depends on whether the optic is a standalone red dot for AR-15 rifles or part of a dual-optic configuration.
The best red dot for AR-15 use will not deliver its full value unless it is mounted correctly and zeroed for the shooter’s needs. The best zero is one you can confirm, understand, and repeat under realistic conditions.
How to Zero an AR-15 Red Dot
Follow these steps to zero your AR-15 red dot accurately and confirm that your point of aim matches your point of impact.
1. Inspect the Optic and Mount
Make sure the AR-15 red dot is mounted entirely on the upper receiver rather than bridging the receiver and handguard. A handguard may shift or flex under pressure, which can cause an optic mounted across both components to lose consistency.
Check that all screws are tightened to the manufacturer’s recommended specifications for the optic or mount. Excessive torque can damage the mount, screw heads, or optic body.
2. Choose the Zero Distance
Select either a true 25-yard or 50-yard zero based on your range access and intended use. A 50-yard zero is often more versatile, while a 25-yard option may be easier to establish.
When using a reduced-distance target, verify whether it creates a true 25-yard zero or simulates a farther zero. The required point of impact may sit below the aiming point.
3. Use Consistent Ammunition
Use the same ammunition you plan to shoot regularly. Bullet weight, velocity, projectile design, and brand can all influence the point of impact.
Even ammunition with the same bullet weight may group differently. Reconfirm the AR-15 red dot after changing from training ammunition to hunting, competition, or defensive loads.
4. Begin at a Shorter Distance
Start at 10 or 15 yards when installing a new AR-15 red dot sight or when the rifle has never been zeroed. This helps ensure the shots land on paper before moving to the final zero distance.
Starting close is only a preliminary step. The final zero should still be completed and confirmed at the selected distance.
5. Use a Stable Position
Support the rifle with shooting bags, a rest, or a properly used bipod. Maintain a consistent cheek weld, shoulder position, grip, and trigger press.
The goal is to measure the relationship between the rifle and the optic, not variations in shooting position.
6. Adjust Dot Brightness
Set the dot to a brightness that is visible without creating excessive bloom. An overly bright dot may appear larger and cover too much of the target.
A clean aiming point helps the shooter center the AR-15 red dot on a small bullseye or grid. Lowering the brightness may also help shooters experiencing astigmatism-related distortion.
7. Fire a Three- to Five-Shot Group
Aim at the same point and fire a controlled group. Avoid adjusting the sight after every round because one shot may not represent the actual center of impact.
Three-shot groups conserve ammunition, while five-shot groups offer a clearer picture of the rifle’s consistency.
8. Measure and Adjust
Find the group’s center and measure its distance from the intended aiming point. Adjust windage for horizontal movement and elevation for vertical movement.
Check the optic manual for the adjustment value. Many red dots use 1/2-MOA adjustments, but others use 1-MOA, 1/4-MOA, or metric increments.
| Adjustment Value | Movement at 25 Yards | Movement at 50 Yards | Movement at 100 Yards |
| 1/4 MOA per click | About 1/16 inch | About 1/8 inch | About 1/4 inch |
| 1/2 MOA per click | About 1/8 inch | About 1/4 inch | About 1/2 inch |
| 1 MOA per click | About 1/4 inch | About 1/2 inch | About 1 inch |
For example, a group two inches low at 50 yards would require approximately eight clicks of elevation when using an optic with 1/2-MOA adjustments.
9. Fire a Confirmation Group
Fire another group after making the correction. Continue the process until the group center matches the intended point of impact.
Let the barrel cool if groups begin to open, and avoid rushing the process as fatigue increases.
10. Confirm at Additional Distances
An AR-15 red dot zero should be checked beyond the original target. After zeroing at 25 or 50 yards, confirm impacts at other available distances.
For a 50-yard zero, check the rifle at close range, 50 yards, 100 yards, and farther if possible. For a 25-yard zero, intermediate confirmation becomes especially important because the bullet may travel higher than expected.
Record the amount of rise or drop at each distance. This gives you practical hold information for the exact rifle-ammunition combination.

How Ammunition and Barrel Length Affect the Zero
A zero belongs to a specific rifle, optic, mount, and ammunition combination. Changing one part of the setup may shift the point of impact.
Shorter barrels generally produce less muzzle velocity than longer barrels with the same ammunition. Lower velocity can change where the bullet crosses the line of sight and how quickly it drops.
Bullet weight also affects trajectory. Lightweight varmint ammunition, standard 55-grain loads, heavier match ammunition, and defensive loads may all produce different results.
After changing ammunition, fire a confirmation group before assuming the AR-15 red dot remains perfectly aligned.
Choosing the Best Red Dot for an AR-15
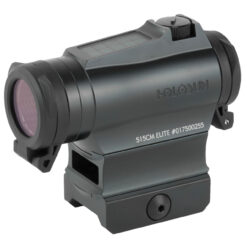
The best red dot for AR-15 use should match the rifle, shooting style, and expected conditions. Important factors include dot size, battery life, durability, brightness controls, mount height, lens clarity, and compatibility with magnifiers.
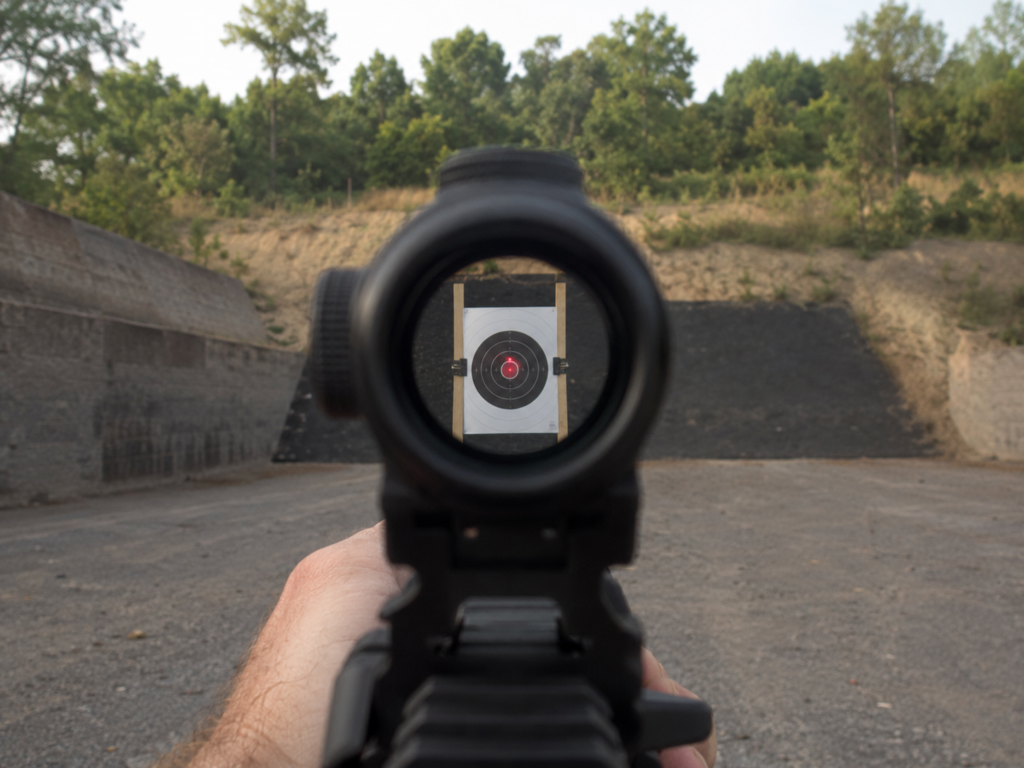
A compact red dot for AR-15 rifles may be ideal for a lightweight carbine, while a larger enclosed optic may offer increased protection from dirt, rain, and debris. Shooters who need magnification may prefer an AR-15 scope red dot combo rather than choosing only one sighting system.
The right optic should hold zero, provide clear adjustments, and mount securely to the upper receiver. Price matters, but reliability and visibility should remain the primary considerations.
Does Dot Size Affect Zeroing?
Dot size is measured in MOA. A 2-MOA dot covers approximately two inches at 100 yards, one inch at 50 yards, and half an inch at 25 yards.
A smaller dot can offer more precise aiming at distance, while a larger dot may appear easier to acquire quickly at close range. The dot size does not alter the bullet’s trajectory, but it changes how much of the target the sight covers.
Brightness can also make an AR 15 red dot sight appear larger than its stated size. Use the lowest brightness setting that remains easy to see.
Common AR-15 Red Dot Zeroing Mistakes
Adjusting After One Shot
One impact does not provide enough information. Fire a group before moving the sight.
Using Multiple Ammunition Types
Switching loads during the process adds another variable and may produce inconsistent results.
Mounting the Optic on the Handguard
A handguard-mounted red dot sight for AR-15 rifles may shift as the handguard moves. Mount the optic on the upper receiver whenever possible.
Setting the Dot Too Bright
Excessive brightness can create bloom and make precise aiming more difficult.
Ignoring Optic Height
A standard receiver-mounted sight, an elevated mount, an offset optic, and a top-mounted red dot scope for AR-15 setups may all have different mechanical offsets.
Assuming Every 50-Yard Zero Equals 200 Yards
The farther intersection varies with ammunition, velocity, sight height, and barrel length.
Failing to Check Mounting Hardware
A loose mount can create shifting groups and unexplained changes in point of impact.
Skipping Longer-Range Confirmation
A perfect group at 25 yards does not reveal exactly what the rifle will do at 100 or 200 yards.
Final Thoughts: Choose a Zero You Can Confirm
Both the 25-yard and 50-yard zero have practical advantages. The 25-yard option is accessible and convenient, while the 50-yard option often creates a more balanced general-purpose trajectory.
No zero eliminates mechanical offset or the need for live-fire confirmation. Use consistent ammunition, fire stable groups, make measured adjustments, and verify the AR-15 red dot at several distances.
Whether you need a standalone optic, an AR-15 scope red dot combo, a magnifier, or a new mount, Black Rifle Depot carries sighting solutions for a wide range of rifle configurations.
Shop AR-15 optics at Black Rifle Depot to compare AR-15 red dots, scopes, magnifiers, mounts, risers, and backup sights for your next rifle setup.
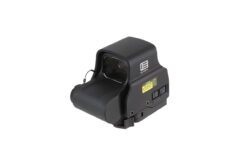
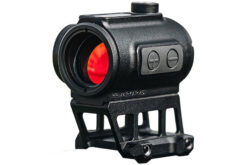
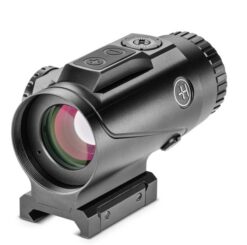

Frequently Asked Questions About AR-15 Red Dot Zeroing
The following answers cover common questions about choosing a zero distance, confirming accuracy, understanding sight height, and setting up an AR-15 red dot.
Is a 25-Yard or 50-Yard Zero Better for an AR-15?
A 50-yard zero is usually more versatile across short and intermediate distances. A 25-yard zero is easier to establish on compact ranges and may work well for rifles primarily used at shorter distances.
Does a 50-Yard Zero Always Equal a 200-Yard Zero?
No. The farther intersection depends on barrel length, sight height, bullet weight, and muzzle velocity. The 50/200 description is only an approximation.
Can I Use a 25-Yard Target to Create a 50-Yard Zero?
Yes, when using a correctly designed target. The group may need to land below the point of aim at 25 yards. Confirm the final zero at 50 yards whenever possible.
Why Does an AR-15 with a Red Dot Hit Low at Close Range?
The optic sits above the bore. At very close distances, the bullet has not yet risen to meet the line of sight, so it lands below the dot.
How Many Shots Should I Fire Per Group?
Three rounds can work for basic adjustments, but five rounds provide a more reliable group center
Can I Use a Magnifier While Zeroing?
Yes. A magnifier can make the target easier to see, and it does not normally change the zero because it sits behind the optic.
Should an AR-15 Scope Red Dot Combo Have Two Different Zeros?
It can. The primary scope and secondary red dot may be zeroed at different distances based on their intended roles. For example, the scope may use a 100-yard zero while the secondary dot uses a 50-yard zero.
What Is the Best Red Dot for an AR-15?
The best red dot for AR-15 use depends on the rifle and shooter. Look for reliable construction, clear glass, a suitable dot size, long battery life, secure mounting, and easy-to-understand adjustment controls.
Should Backup Iron Sights Match the Red Dot?
Iron sights and the AR-15 red dot should be zeroed independently. Visual alignment may help with an initial setup, but it does not replace live-fire confirmation.
How Often Should I Check the Zero?
Check the zero after installing or removing the optic, changing mounts or ammunition, modifying the upper receiver, or noticing unexpected shifts. A confirmation group is also smart before a class, competition, hunt, or important range session.
For additional support, check out our X Page.
