
AR-15 Optics
Optimal AR-15 Red Dot Placement: A Complete 2026 Setup Guide

Jul
Table of Contents
Installing an AR-15 red dot involves more than attaching the optic to an open rail slot. Its position can affect your sight picture, peripheral awareness, access to the controls, compatibility with backup sights, and the amount of room available for a magnifier. Although red dots offer flexible mounting because they do not require traditional eye relief, some positions work better than others.
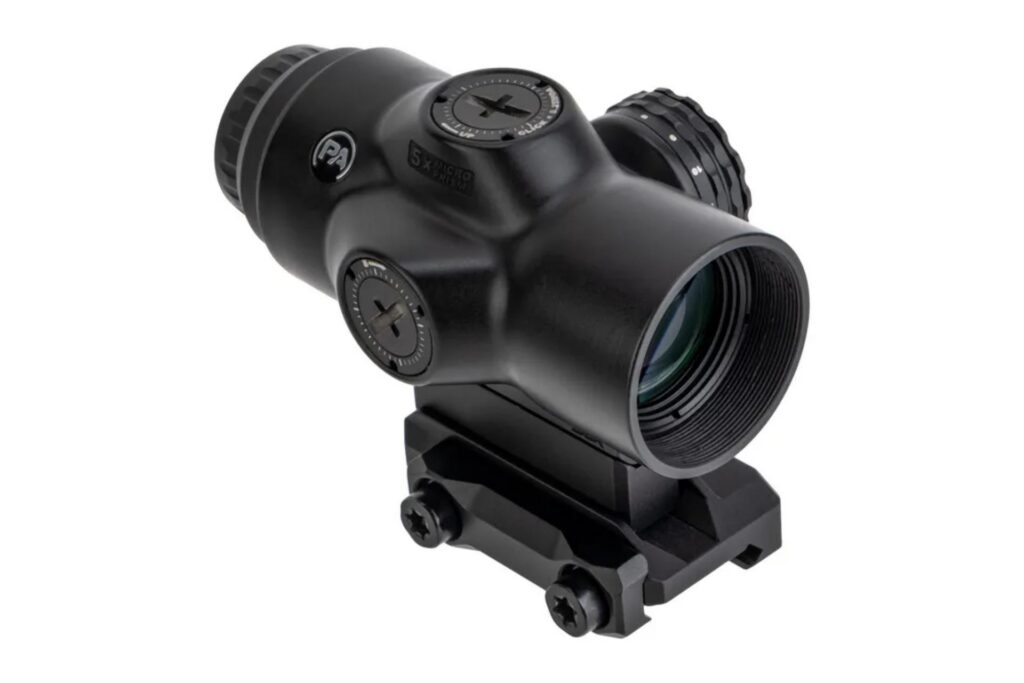
For most rifles, the best starting point is to mount the optic directly on the upper receiver and position it far enough forward to create an open sight picture without encroaching on the handguard. Whether you are installing an AR-15 red dot, choosing a red dot for AR-15 use, or building an AR-15 scope red dot combo, secure receiver placement should remain the priority.
This updated 2026 guide explains where to place your optic, why the upper receiver matters, how mount height changes your setup, and how to arrange red dots with magnifiers, scopes, and backup iron sights.
Where Should an AR-15 Red Dot Be Mounted?
An AR-15 red dot should generally be mounted on the Picatinny rail of the upper receiver. The entire mounting base should remain on the receiver rather than extending onto or bridging the handguard.
A common starting position is near the forward portion of the upper receiver. This location places the optic farther from the shooter’s eye, which can make the housing appear less prominent while preserving more rail space behind it for a magnifier or backup sight.
However, the optic does not need to be mounted in one exact rail slot. Red dots typically offer unlimited eye relief, meaning the shooter does not need to maintain a precise distance between the eye and the rear lens. You can move the optic forward or backward on the receiver until the sight picture, controls, and accessories work properly.
The key rules are simple:
- Keep the complete mount on the upper receiver.
- Do not bridge the receiver and handguard.
- Leave enough room for any magnifier or rear iron sight.
- Confirm that charging-handle access remains unobstructed.
- Check that brightness controls and battery compartments remain accessible.
The best position for an AR-15 red dot sight is ultimately the one that meets these requirements while supporting a natural shooting position.
Why the Upper Receiver Is the Best Mounting Surface
The upper receiver provides the most stable mounting surface for an AR-15 red dot because it maintains a fixed relationship with the barrel and barrel extension. A separate free-float handguard may feel solid, but it can still move slightly when pressure, heat, impact, or accessory weight is applied.
Even a small amount of handguard movement can change the relationship between the sight and bore. That change may produce a noticeable shift in the point of impact, especially at longer distances.
Mounting the optic partly on the upper receiver and partly on the handguard creates another problem. The two rail surfaces may not remain perfectly aligned under every condition. Bridging the gap also prevents the handguard from moving independently without affecting the sight.
Therefore, a primary red dot sight for AR-15 rifles should stay completely on the receiver unless the rifle uses a true monolithic upper, in which the receiver and forward rail form one continuous structure.
Lights, pressure switches, grips, and other accessories can be mounted on the handguard. The primary aiming optic should remain on the more stable receiver rail.
Forward vs. Rearward AR-15 Red Dot Placement
Moving the optic forward or backward changes how the sight housing appears to the shooter, how much receiver space remains, and how the rifle works with other accessories. Neither position automatically changes the optic’s mechanical accuracy as long as the mount remains secure on the receiver.
Forward Placement
Forward placement means positioning the AR-15 red dot near the front of the upper receiver without extending the mount onto the handguard.
This position often makes the optic housing appear smaller in the shooter’s view. With both eyes open and focus placed on the target, the housing tends to interfere less with peripheral awareness.
Forward placement also leaves more space behind the optic for:
- A flip-to-side magnifier
- A folding rear sight
- Night-vision equipment
- Other receiver-mounted accessories
The main limitation is access. Placing the optic too far forward may make the controls less convenient to reach, depending on the design. It may also require repositioning the sight when adding a large magnifier.
Rearward Placement
Rearward placement brings the AR-15 red dot closer to the shooter. Some users find the dot and optic window easier to locate in this position, especially when first transitioning from a traditional riflescope.
A rearward position may also provide easier access to brightness buttons, rotary controls, or battery compartments. However, it uses receiver space that may be needed for a magnifier or backup sight.
Moving the optic too far back can make the housing appear more prominent and may crowd the charging handle or rear iron sight. It can also make an AR-15 with a red dot feel visually cluttered when several accessories occupy the rear of the receiver.

AR-15 Red Dot Placement Comparison Chart
| Placement option | Main advantages | Potential drawbacks | Best application |
|---|---|---|---|
| Front portion of the upper receiver | Open sight picture, less visible housing and room behind the optic | Controls may be slightly farther away | General-purpose rifles and magnifier-ready setups |
| Center of the upper receiver | Balanced placement and convenient control access | May reduce space for larger rear accessories | Standalone red-dot configurations |
| Rear portion of upper receiver | The optic window may feel easier to locate for some shooters | Crowds the rear sight, magnifier, or charging handle | Simple setups without additional optics |
| Bridged across the receiver and the handguard | May appear to create more mounting room | Risk of movement, misalignment, and loss of zero | Not recommended |
| Mounted entirely on a separate handguard | Free receiver space | Handguard movement may affect zero retention | Not recommended for a primary optic |
| 45-degree offset beside a scope | Rapid transition between magnified and unmagnified aiming | Adds width and requires rifle rotation | Scope-and-dot combination rifles |
| Top-mounted above a scope | Ambidextrous access and straightforward transition | Greater sight height and mechanical offset | Specialized AR-15 scope red dot combo setups |
Does an AR-15 Red Dot Need Eye Relief?
Unlike a traditional magnified riflescope, an AR-15 red dot does not require a fixed eye-relief distance. Traditional scopes require the shooter’s eye to remain within a specific distance behind the eyepiece to produce a complete image and avoid a dark ring around the field of view.
A red dot is a non-magnified sight designed to be viewed from different distances and head positions. As long as the dot is visible and the optic remains zeroed, the shooter can place the dot on the target without centering the eye perfectly behind the lens.
This flexibility is one reason an AR-15 red dot sight can be mounted at several positions along the upper receiver.
However, unlimited eye relief does not mean placement is irrelevant. A poorly positioned sight may interfere with accessories, feel visually cluttered, or make the controls difficult to reach. Proper placement is primarily about stability, ergonomics, rail management, and sight-picture preference rather than achieving a specific eye-relief measurement.
Keep Both Eyes Open When Using a Red Dot
An AR-15 red dot is generally designed for target-focused shooting with both eyes open. Instead of concentrating on the optic housing or lens, focus on the target and allow the illuminated dot to appear over the intended aiming point.
Keeping both eyes open can improve peripheral awareness and make transitions between targets feel more natural. It can also reduce the tunnel vision that may occur when the shooter closes the non-aiming eye.
When testing placement, shoulder the unloaded rifle naturally and look at a target with both eyes open. The dot should appear quickly without forcing your head into an uncomfortable position.
Move the optic within the upper receiver rail until the housing becomes less distracting and the dot remains easy to locate. Once you find a comfortable position, mark the rail slot or record the location before removing the optic.
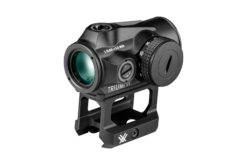
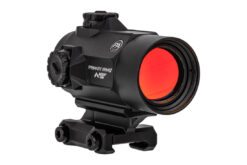
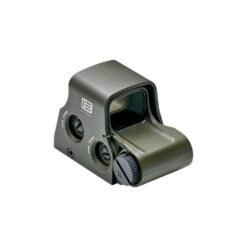

Choosing the Correct Mount Height
Horizontal placement is only one part of the setup. The height of an AR-15 red dot also affects head position, mechanical offset, iron-sight compatibility, and accessory use.
Common mounting configurations include absolute co-witness, lower-third co-witness, and taller mounts.
Absolute Co-Witness
An absolute co-witness mount places the optic so the iron sights align near the center of the optic window.
This setup can provide a consistent cheek weld and straightforward visual alignment between the red dot and iron sights. However, the irons may occupy more of the window, making the sight picture feel crowded.
Lower-Third Co-Witness
A lower-third mount positions the iron sights in the lower portion of the optic window. The shooter maintains a slightly higher head position when using the dot and lowers the eye to use the iron sights.
This arrangement can provide a cleaner primary sight picture while retaining access to backup sights.
Taller Mounts
Taller mounts have become increasingly common on modern rifles. They may support a more upright head position and improve compatibility with certain equipment.
However, increasing the height of the red dot for AR-15 use also increases the distance between the optic and the bore. This creates more mechanical offset at close range and may change the rifle’s ballistic relationship to the line of sight.
The best mount height depends on the shooter’s facial structure, stock position, equipment, backup sights, and intended use. Choose a height that supports a repeatable head position rather than selecting one based only on appearance.
Mechanical Offset and Mount Height
Mechanical offset is the distance between the center of the bore and the center of the optic. Since the AR-15 red dot sits above the barrel, bullets will strike below the dot at close distances before their path rises to intersect the line of sight.
A taller mount increases that separation. Consequently, a shooter using a tall mount or a top-mounted red dot scope on AR-15 rifles may need to account for greater offset at short range than someone using a standard-height mount.
Moving the optic forward or backward on the receiver does not significantly change the mechanical offset. Changing the mount height does.
After installing the optic, confirm the rifle at several distances rather than relying entirely on generic ballistic charts. Barrel length, ammunition, muzzle velocity, sight height, and zero distance all influence the actual point of impact.
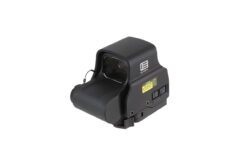
Setting Up an AR-15 Red Dot With a Magnifier
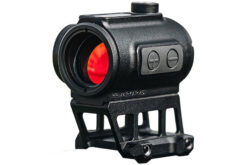
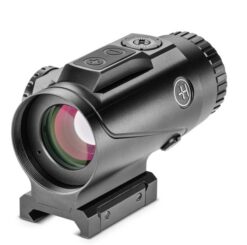
A red dot and magnifier combination provides unmagnified aiming for close targets and additional magnification for more distant targets. In this arrangement, the AR-15 red dot sits in front of the magnifier.
The red dot should be positioned first, while leaving enough receiver space behind it for the magnifier and any rear backup sight. The magnifier should align with the red dot’s centerline and provide a comfortable viewing position.
Unlike the red dot, a magnifier has a defined eye-relief range. Therefore, magnifier placement is often less flexible. Position the magnifier where it provides a complete image from your normal shooting position, then place the red dot in front of it while keeping both mounts entirely on the upper receiver.
A flip-to-side magnifier mount must have enough clearance to move without striking the rear sight, charging handle, or other accessories.
The magnifier does not normally receive a separate ballistic zero. The rifle remains zeroed through the red dot. Magnifier windage and elevation adjustments usually center the dot within the magnified image rather than moving the bullet’s point of impact.

Placement for an AR-15 Red Dot & Scope Combo
An AR-15 scope red dot combo combines a magnified riflescope with a secondary red dot. This setup allows the shooter to use magnification for more distant targets and transition to the dot for closer targets.
The two most common arrangements are a 45-degree offset mount and a top-mounted red dot.
Offset Red Dot Placement
A 45-degree offset places the secondary AR-15 red dot beside the scope. The shooter rotates the rifle slightly to bring the dot into view.
This arrangement usually provides a lower sight height than a top-mounted optic and can enable a fast transition without significantly changing the stock position.
The offset mount should attach to the upper receiver or a properly designed scope mount. Confirm that it does not interfere with the scope turrets, charging handle, ejection port, or other accessories.
Top-Mounted Red Dot Placement
A top-mounted red dot scope for AR-15 rifles sits above the primary scope, often on a compatible ring cap or scope mount.
This arrangement is ambidextrous and does not require the shooter to rotate the rifle to one side. However, the optic sits much higher over the bore, creating additional mechanical offset at close distances.
A top-mounted optic may also require the shooter to lift the head away from the normal cheek weld. Confirm that the dot remains easy to locate and that the mount is strong enough to retain zero.
Placement With Backup Iron Sights
Backup iron sights can remain useful on an AR 15 with a red dot, but their placement must be planned before tightening the optic mount.
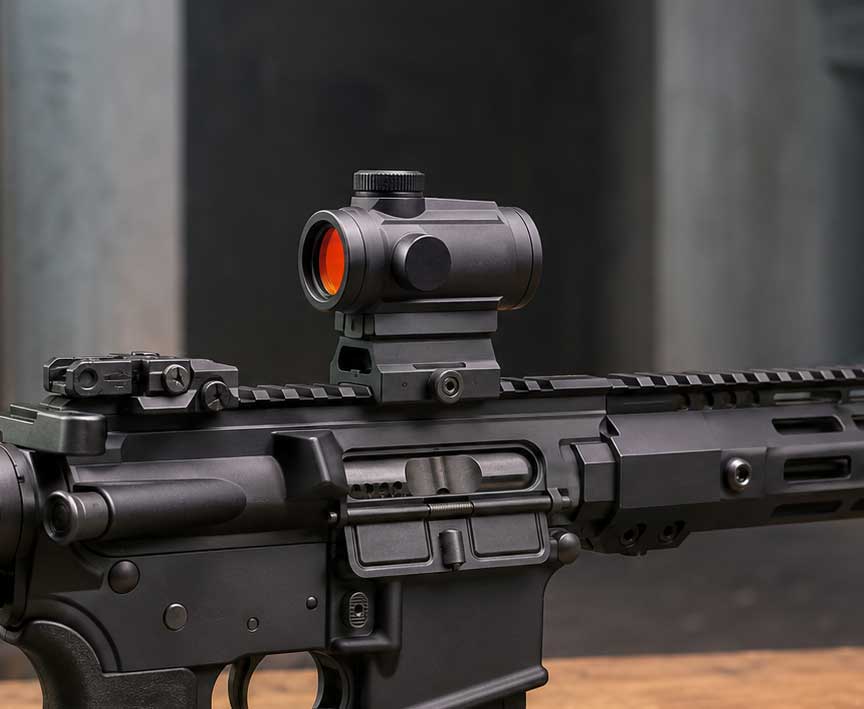
A flip-up rear sight normally occupies the last available rail slots on the upper receiver. The red dot is then placed in front of it. If a magnifier is used, the typical order from rear to front is:
- Rear backup sight
- Magnifier
- Red dot
Rail space may be limited, especially with larger optics. Compact sights and mounts can make the arrangement easier.
Iron sights and the AR-15 red dot should be zeroed independently. Aligning the dot visually with the iron sights may help place the first shots on paper, but it does not replace live-fire confirmation.
How to Find the Best Position for Your Rifle
The following process can help you determine where your optic should sit:
1. Unload and Clear the Rifle
Remove the magazine, lock the bolt open, and visually and physically confirm that the chamber is empty before testing positions.
2. Set the Stock Position
Adjust the stock to the length you normally use. Changing the stock length later may affect your head position and how quickly you locate the dot.
3. Shoulder the Rifle Naturally
Close your eyes, shoulder the rifle, and settle into your normal stance. Open your eyes without moving your head. This reveals whether the optic supports a natural position.
4. Start Near the Front of the Receiver
Place the AR-15 red dot near the forward portion of the upper receiver while keeping the complete mount behind the receiver-handguard junction.
5. Check the Sight Picture
Look through the sight with both eyes open and focus on a target. Move the optic one or two slots at a time until the dot appears naturally and the housing feels minimally distracting.
6. Check Accessory Clearance
Confirm that there is room for the rear sight, magnifier, charging handle, scope, or other receiver-mounted equipment.
7. Tighten the Mount Correctly
Follow the optic or mount manufacturer’s torque instructions. Excessive torque can damage components, while insufficient torque may allow movement.
8. Mark the Position
Record the rail slot or add a small witness mark to help identify movement and simplify future reinstallation.
9. Zero and Confirm
Zero the optic using consistent ammunition. Confirm the zero at the intended distance and check it again after the first range session.
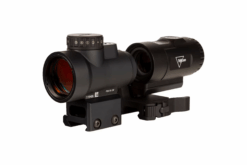
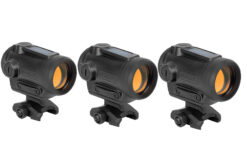

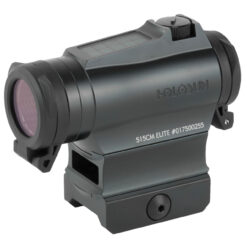
Choosing the Best Red Dot for an AR-15
The best red dot for AR-15 use should match the rifle’s purpose rather than simply fitting the available rail space.
Consider the following factors:
- Enclosed or open-emitter construction
- Dot size and reticle options
- Battery life
- Brightness controls
- Night-vision compatibility
- Mounting footprint
- Included mount height
- Magnifier compatibility
- Water and impact resistance
- Control accessibility
- Overall size and weight
A compact red dot for AR-15 builds may leave more room for magnifiers and backup sights. A larger optic may provide a wider viewing window or more substantial controls, but it can occupy additional rail space.
The best choice should mount securely, hold zero, provide a clear aiming point, and remain easy to operate from your normal shooting position.
Common AR-15 Red Dot Placement Mistakes
Avoiding these common AR-15 red dot placement mistakes can help protect zero retention, improve comfort, and keep your optics setup reliable.
Mounting the Sight on the Handguard
A separate handguard can move relative to the upper receiver. This movement may shift the sight’s point of aim.
Bridging the Receiver and Handguard
Placing part of the mount on each surface connects the optic to two components that may move independently.
Mounting Too Far Back
A rearward AR-15 red dot may crowd the charging handle, backup sight, or magnifier, making the optic housing more prominent.
Ignoring Future Accessories
Mounting the red dot without considering a future magnifier or rear sight may require the entire setup to be rearranged later.
Choosing Height Based Only on Appearance
A tall mount may look streamlined, but can increase close-range offset and may not provide a repeatable cheek weld.
Using Incorrect Torque
Overtightening can damage the mount, while undertightening may allow the optic to shift under recoil or impact.
Failing to Confirm Zero
Any time an optic is installed, removed, repositioned, or placed on a different mount, its zero should be verified with live fire.
Conclusion: Build a Better AR-15 Optics Setup
The best placement for an AR-15 red dot is usually on the forward portion of the upper receiver, with the entire mounting base supported by the receiver rail. This location can provide a clean sight picture, preserve peripheral awareness, and leave room for a magnifier or rear iron sight.
However, there is no single rail slot that works for every shooter. Stock length, mount height, controls, backup sights, magnifiers, and scope combinations can all affect the final position. Test the placement from your natural shooting stance, keep the optic off the handguard, tighten the mount correctly, and confirm the zero after every change.
Whether you need a standalone red dot sight for AR-15 use, a magnifier-ready optic, a riser, or an AR-15 scope red dot combo, Black Rifle Depot carries optics and mounting components for a wide range of rifle configurations.
Shop AR-15 Red Dots at Black Rifle Depot to compare red dot sights, rifle scopes, magnifiers, risers, scope mounts, and backup iron sights for your next build or upgrade.
Frequently Asked Questions About AR-15 Red Dot Placement
The following answers address common questions about receiver placement, rail slots, optic height, magnifiers, backup sights, and setting up an AR-15 red dot for reliable performance.
How Far Forward Should an AR-15 Red Dot Be Mounted?
A good starting point is near the forward end of the upper receiver, with the complete mounting base remaining behind the handguard. Move it rearward as needed for control access, accessory clearance, and personal preference.
Can I Mount a Red Dot on an AR-15 Handguard?
A primary optic should generally not be mounted on a separate handguard because the handguard can shift under heat, pressure, or impact. Keep the optic on the upper receiver unless the rifle uses a true monolithic upper.
Can the Mount Bridge the Upper Receiver and Handguard?
No. Bridging places the mount across two components that may move differently. This can affect alignment and zero retention.
Does a Red Dot Need to Be Close to My Eye?
No. Most rifle red dots provide unlimited eye relief. The optic can be placed at different positions on the receiver as long as the dot remains visible and the mount stays secure.
Does Moving a Red Dot Forward Change the Zero?
Moving a sight to a different rail position requires reconfirming the zero. Even when the same mount is used, removing and reinstalling or repositioning an optic can produce a point-of-impact shift.
Is Forward or Rearward Placement Faster?
Speed depends more on a consistent mount, natural head position, target focus, and practice than on one specific rail slot. Many shooters prefer forward placement because the housing appears less obstructive, while others find the dot easier to locate with the sight slightly rearward.
What is the Best Mount Height for an AR-15 red dot sight?
The best height depends on the shooter’s head position, stock setup, backup sights, equipment, and intended use. Absolute and lower-third co-witness heights remain common, while taller mounts provide a more upright posture but increase mechanical offset.
Where Does the Red Dot Go When Using a Magnifier?
The AR-15 red dot mounts in front of the magnifier. Set the magnifier where its eye relief works properly, then position the red dot ahead of it while keeping both mounts on the receiver.
Where Should a Red Dot Go With a Scope?
In an AR-15 scope red dot combo, the secondary dot may be placed on a 45-degree offset mount or above the scope. Both arrangements should attach to the upper receiver or a compatible scope mount.
Should Backup Iron Sights Align With the Red Dot?
They may use an absolute or lower-third co-witness arrangement, but the two systems should be zeroed independently. Visual alignment alone does not confirm that both sights share the same point of impact.
Should I Re-Zero After Changing the Mount Position?
Yes. Reconfirm the zero whenever you remove the optic, move it to another rail slot, change mounts, adjust mount height, or transfer it to another rifle.
For additional support, check out our X Page.
